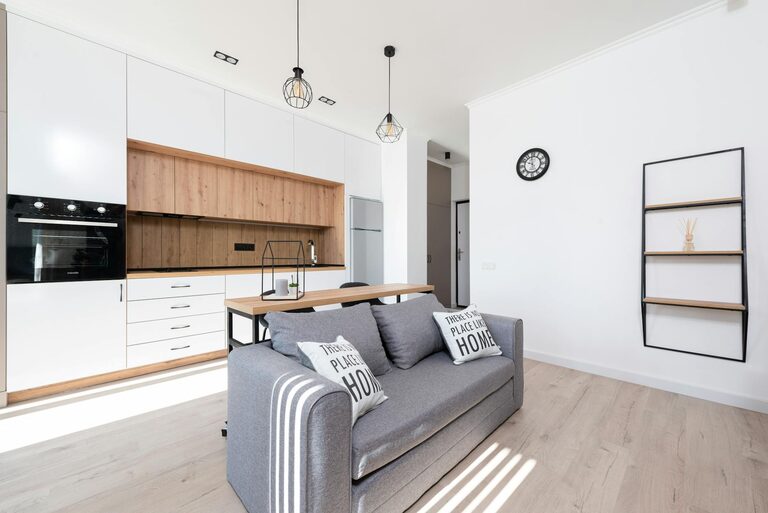
How to Make Your Kitchen Counters Clutter-Free and Functional
Keeping your kitchen counters clutter-free can transform the heart of your home. A clean, organized counter not only looks appealing but also makes cooking and cleaning more efficient. If your kitchen counters are often crowded with appliances, utensils, and miscellaneous items, don’t worry! With a few simple strategies, you can create a neat, inviting space that serves your needs perfectly.
Why a Clutter-Free Kitchen Counter Matters
Having a clutter-free kitchen counter means having more workspace for meal preparation, easier maintenance of cleanliness, and a calm, welcoming atmosphere. Clutter can make it hard to find what you need quickly, slow down cooking, and add unnecessary stress to daily routines.
Step 1: Clear and Assess Your Counters
Start by removing everything from your kitchen counters. Empty every item so you can see the actual space you have to work with.
– Sort items into categories: Appliances, utensils, ingredients, decor.
– Decide what stays: Only keep items you use frequently or those that enhance the kitchen’s look.
– Donate or store away: Items you rarely use should be stored out of sight or donated.
Step 2: Maximize Storage Space
To keep counters clear, effective storage is essential. Consider these options:
Use Vertical Storage
Utilize wall space by installing shelves or hooks to hold frequently used items like spice jars, pots, or mugs.
Invest in Drawer Organizers
Drawers can become cluttered too. Use dividers and trays to keep tools like knives, measuring spoons, and gadgets orderly and accessible.
Store Small Appliances Smartly
Instead of leaving appliances like toasters and blenders out, store them in cabinets if possible. If you use them daily, designate a specific spot that doesn’t consume too much counter real estate.
Step 3: Implement Daily Habits
Maintaining a clutter-free counter requires consistent effort.
– Clean as you go: Put items back immediately after use.
– Daily wipe down: Spend a few minutes each day wiping the counters to keep surfaces clean and inviting.
– Limit countertop items: Avoid letting paper mail, keys, or miscellaneous items pile up on kitchen counters.
Step 4: Designate Functional Zones
Organizing your kitchen counter by task zones makes cooking simpler and reduces clutter:
– Prep Zone: Near the sink or chopping area, keep knives, cutting boards, and mixing bowls.
– Cooking Zone: Adjacent to the stove, keep spices, oils, and frequently used utensils.
– Cleanup Zone: Close to the sink, place soap dispensers and drying racks.
Creating these zones helps keep only the relevant tools out at any time.
Step 5: Use Decorative Containers
Containers can tame clutter and add style to your kitchen.
– Jars for dry goods: Use clear, labeled jars for flour, sugar, coffee, or tea.
– Baskets for fruits and veggies: Instead of piling produce on the counter, use a basket or bowl.
– Trays for grouping: Place small appliances or utensils on a tray to corral them neatly.
Step 6: Regular Decluttering Sessions
Every few weeks, take the time to revisit your counters and storage areas.
– Remove items you no longer use.
– Rearrange as needed to improve workflow.
– Deep clean surfaces and cupboards.
Regular maintenance prevents clutter from building up over time.
Bonus Tips
– Limit kitchen decor: While plants and art can brighten the space, too many decorative items clutter counters.
– Use a command center: If you use your kitchen counter for mail or notes, create a small board or basket off the main prep area.
Final Thoughts
Achieving clutter-free kitchen counters is a practical goal with big rewards. By clearing, organizing, storing smartly, and practicing simple habits, you’ll create a kitchen space that feels open, clean, and welcoming every day. Give these tips a try and enjoy the benefits of an orderly kitchen!
—
With a little effort and thoughtful organization, your kitchen counters can stay clutter-free and functional, making your cooking and daily routine more enjoyable.
